 Creating your own seed starting mix is an economical and satisfying way to kick-start your garden. Not only can you save money compared to purchasing pre-made mixes, but you can also customize the blend to suit the specific needs of your plants. Here’s how you can make your own seed starting mix at a fraction of the cost of store-bought options.
Ingredients You’ll Need
- Coco Coir or Peat Moss: These are the base for your mix, providing structure and retaining moisture. Coco coir is a sustainable alternative to peat moss and is pH neutral.
- Vermiculite: This mineral helps with water retention and aeration, ensuring that your seedlings are neither too wet nor too dry.
- Perlite: Improves aeration in the mix, preventing soil compaction and helping root growth.
- Compost: Offers a nutrient-rich component, but ensure it’s well-sifted and fine to avoid introducing too large particles into the delicate seed starting mix.
Step-by-Step Guide
Step 1: Sterilize Your Ingredients
Although optional, sterilizing your compost can prevent the introduction of pathogens. You can do this by baking it in the oven at 200°F (93°C) for 30 minutes. Allow it to cool before using.
Step 2: Measure Your Ingredients
A basic mix ratio is three parts peat moss or coco coir, two parts vermiculite, and one part perlite. If you’re adding compost, adjust the ratio to include it, ensuring the final mix isn’t too nutrient-dense for young seedlings.
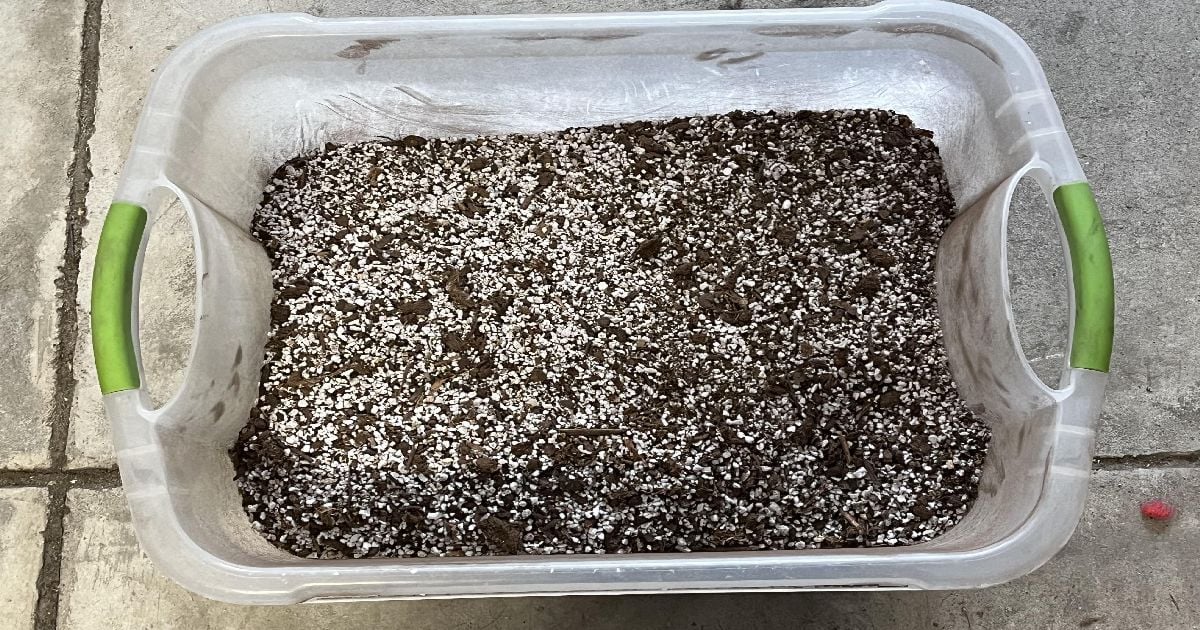
Step 3: Mix Your Ingredients
In a large container, mix all your ingredients thoroughly. Break up any large clumps and ensure the mix is uniform. Moistening the peat moss or coco coir before mixing can make the process easier, as they can be difficult to wet once combined with the other dry ingredients.
Step 4: Adjust pH (If Necessary)
If you’re using peat moss, your mix may be slightly acidic. You can add garden lime to adjust the pH level to around 6.0-7.0, which is ideal for most plants. Coco coir typically does not require pH adjustment.
Step 5: Store or Use
Your seed starting mix is now ready to use. Moisten the mix before filling your seed starting containers to ensure an even moisture level. Any unused mix can be stored in a dry, sealed container for future use.
Tips for Success
- Label your plants: Keep track of what you plant and where, especially if you’re starting multiple varieties.
- Monitor moisture: Keep the soil consistently moist but not waterlogged. Using a spray bottle can help avoid over-watering.
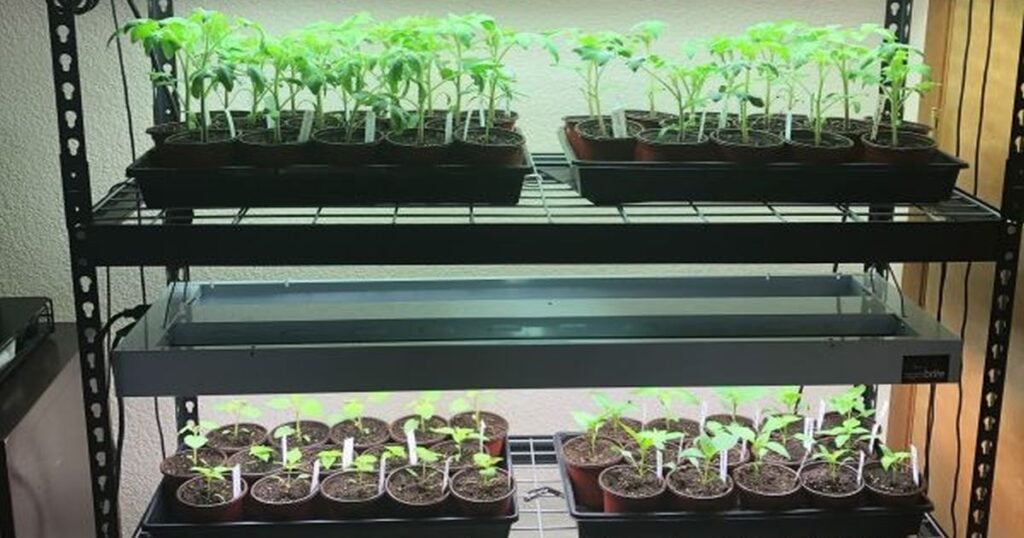
- Provide light and warmth: Most seeds need warm temperatures (around 65-75°F or 18-24°C) and plenty of light to germinate effectively. A sunny window or grow light can provide the necessary conditions.
By making your own seed starting mix, you’re not just saving money; you’re also taking the first step toward a more sustainable and personalized gardening experience. Adjusting the mix based on what you learn about your plants’ preferences each season can lead to even more successful and satisfying gardening adventures.